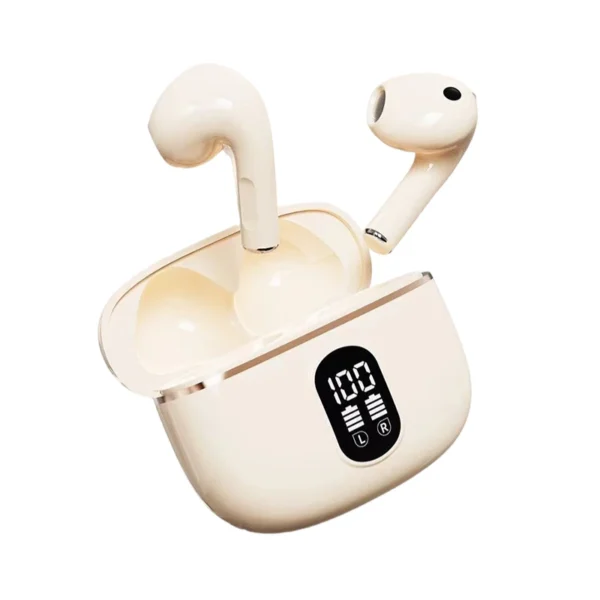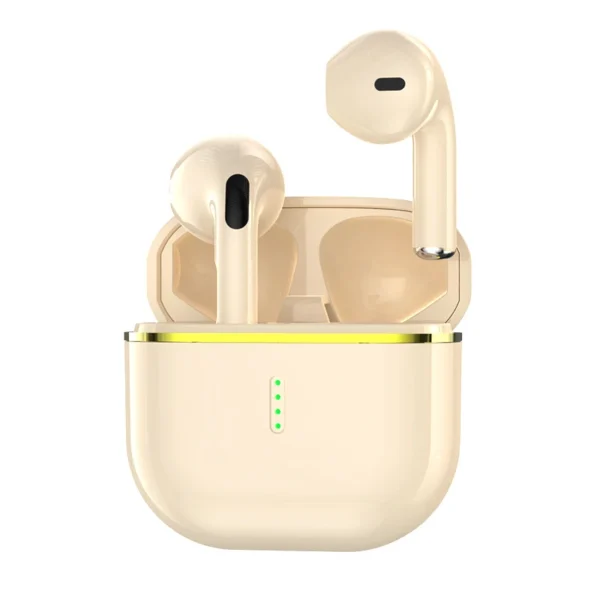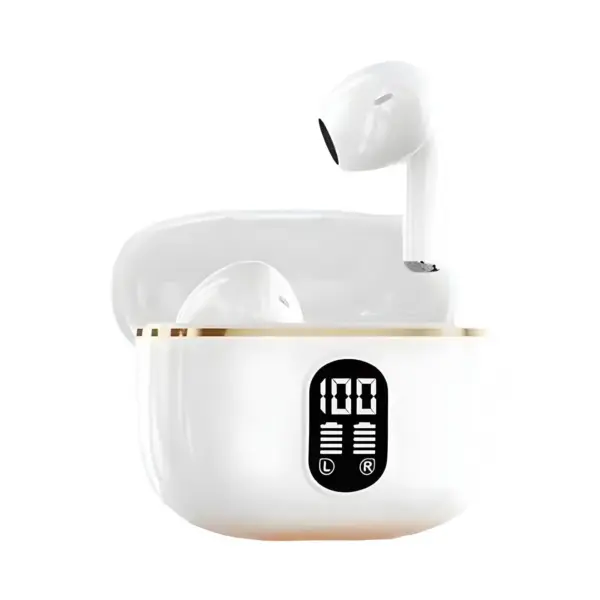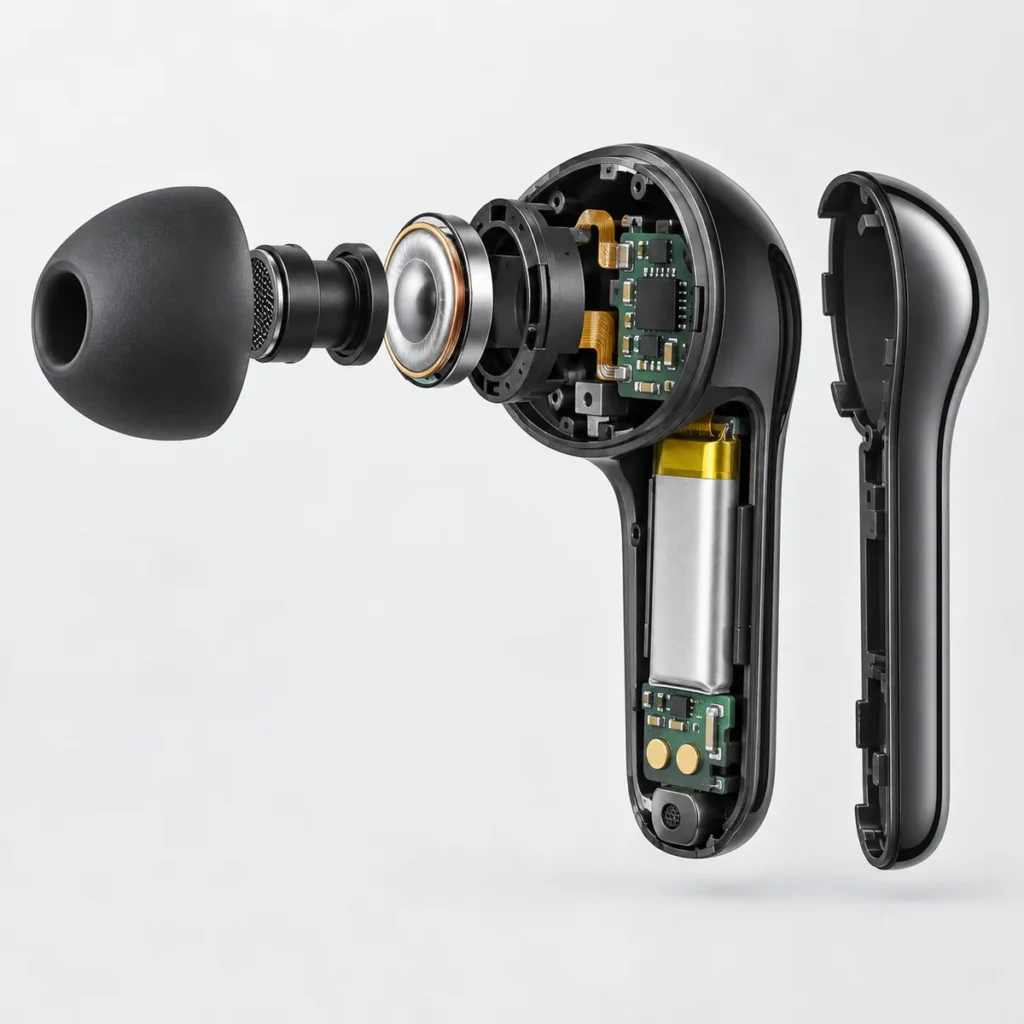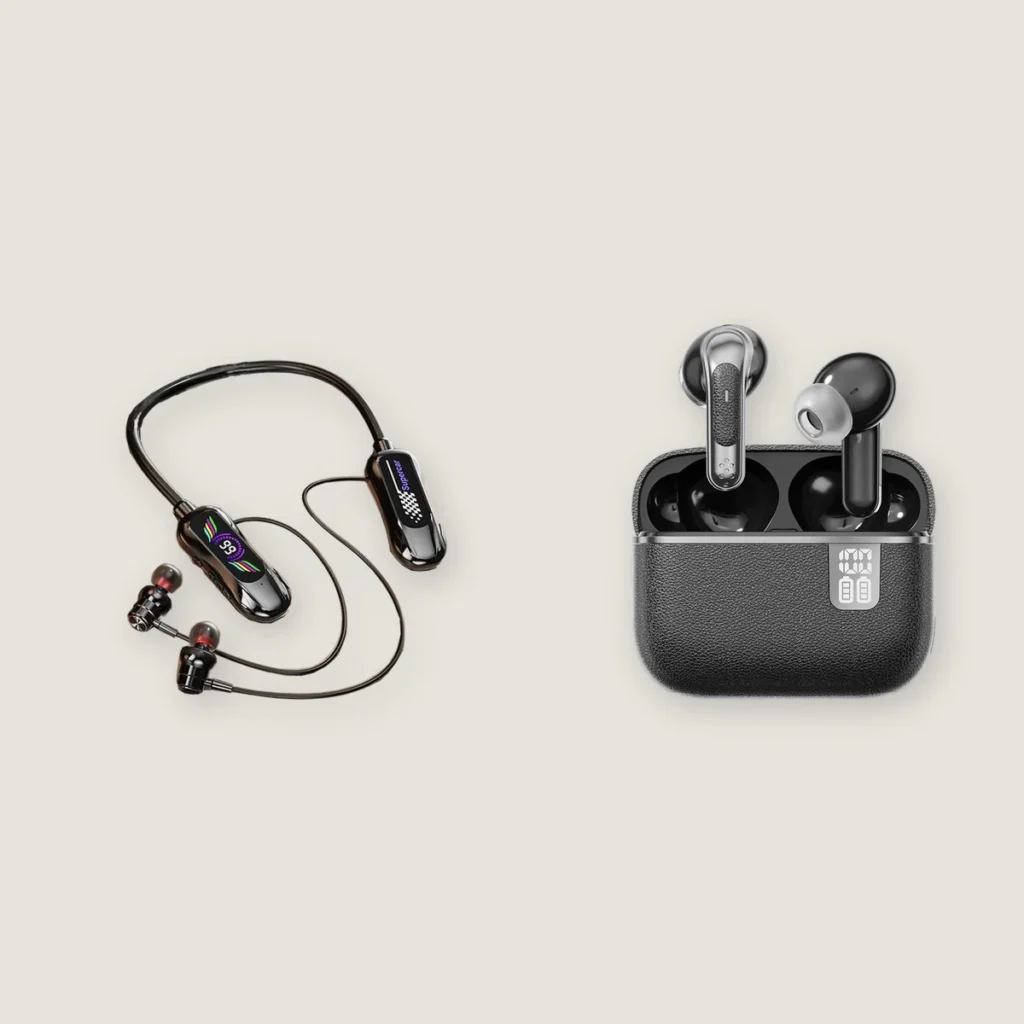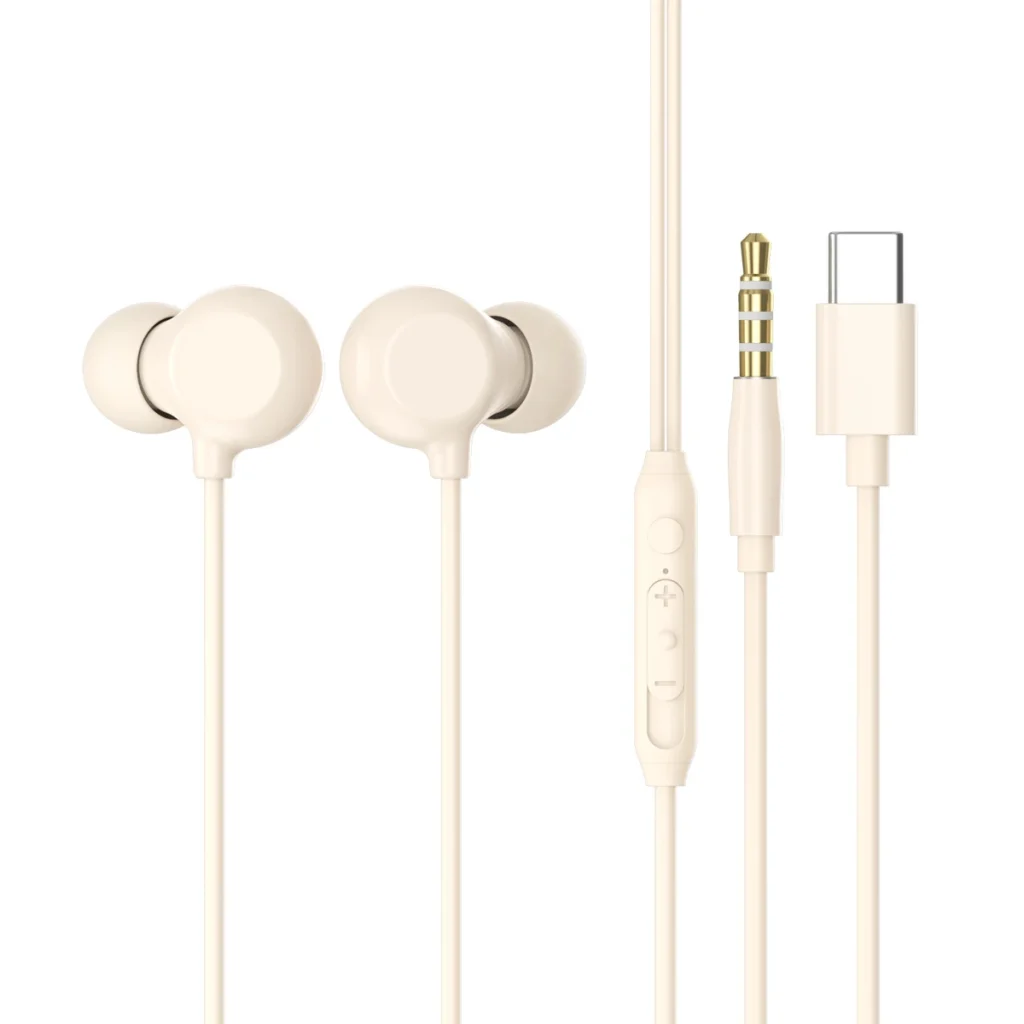
Printing the same logo on the true wireless earbuds and the charging case can still produce different colors, contrasts, detail readability, and tactile feel. On many models, the visible area on the earbuds is smaller, and the curve changes faster. The lid, bottom, and sides of the case may also have different base colors or coatings. The result, therefore, depends on the model and the exact placement.
Screen printing and laser engraving cannot be ranked outside the product conditions. First, define the appearance the logo must deliver. Then check the material, base color, coating, curvature, and available graphic area on the earbuds and charging case separately. Finally, compare physical samples. Do not assume that one flat logo file predicts the result on the entire earphone set.
Start with the target: brand color or Surface Contrast?
Define the intended logo appearance before choosing screen printing or laser engraving.
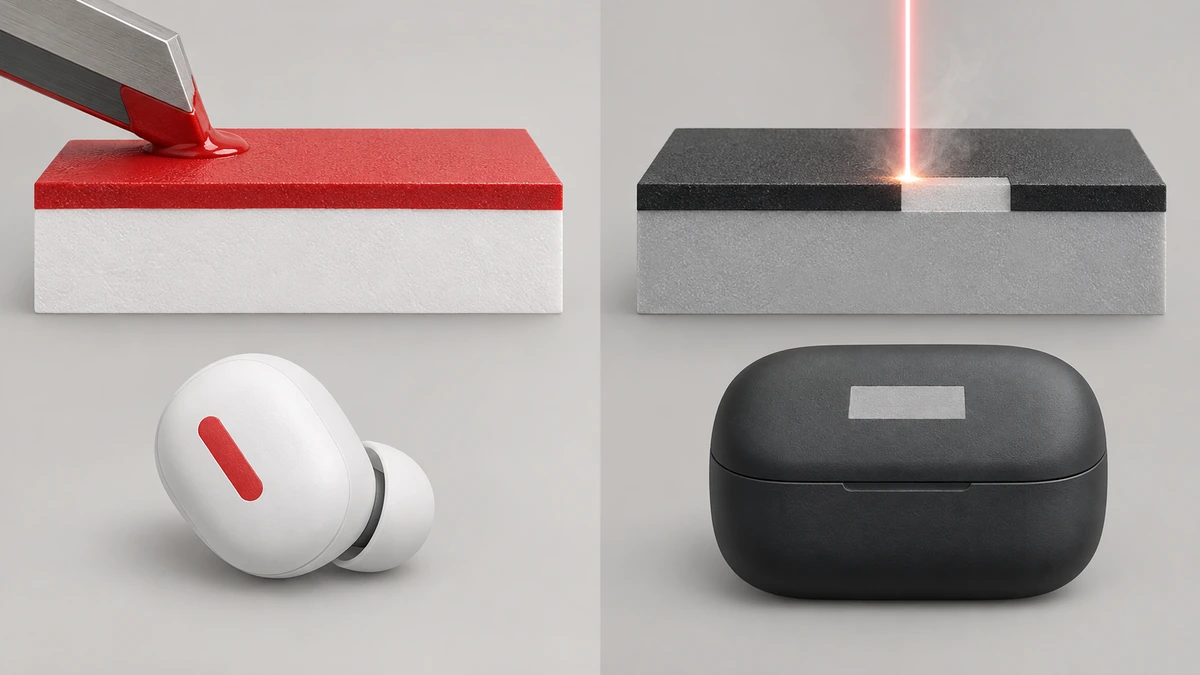
If the priority is a brand color, a defined color block, or clear color recognition, test screen printing first. A screen transfers ink to the housing surface, so the color comes from ink matching. You can then verify the target color, ink opacity, and the effect of the base color. “Color matching” does not mean that any plastic can be printed directly. The ink must still match the substrate, coating, pre- and post-treatment, and curing conditions.
If the priority is a subdued light-dark contrast, a material-based texture change, or a local removal of the surface coating, test laser engraving first. Laser marking on plastic may create a color change, alter the surface, or remove the top coating so the underlying material or base color becomes visible. A laser does not spray any brand color onto the housing. Plastic properties, additives, coatings, and laser settings all affect the final color and contrast.
Use the following questions to screen the candidates:
| Target to confirm | Candidate to test first | Conditions to verify |
|---|---|---|
| Brand color or a clear color block | Test screen printing first | Compatibility of the ink with the substrate, base color, and coating |
| Material contrast or a discreet mark | Test laser engraving first | Whether the material, additives, coating, and contrast work together |
| Both color and a complex curved surface | Make samples with both processes | Readability on the small curve, placement, and surface resistance |
After selecting the candidate processes, list the conditions and samples for the earbuds and charging case separately:
| Object | Conditions to define | First sample round | Condition for the next round |
|---|---|---|---|
| Earbuds | Exact placement, curvature, visible area, and target appearance | Test screen printing first for a brand-color target; test laser engraving first for a material or coating contrast target; test both side by side when information is incomplete or both targets matter | Key outlines remain readable after scaling down, and placement and surface contrast meet the written requirements |
| Charging case | Record the base color, coating, and viewing direction for the lid, bottom, and sides separately | Apply the same decision branch to every actual print surface. Do not let a lid sample stand for the bottom or the sides | Under similar viewing conditions, placement, color or contrast, and readability after contact meet the written requirements |
The first sample round should cover the earbuds, the charging case, and every candidate process so they can be compared side by side. Set the quantity according to the project scope; one sample cannot represent the entire product set. When a candidate is rejected, record the reason, such as “the fine line is unreadable after the earbud logo is reduced” or “contrast is insufficient under reflections on the case bottom.”
Do not rank the two processes before defining the logo appearance. If the target is vague, the comparison stays at slogans such as “better color” or “more durable.” Use three branches: test screen printing first for a brand-color target; test laser engraving first for material or coating contrast; test both in the same sample round when both targets matter or the surface conditions are unknown. “Test first” means verification first. Choose the production process after the samples are confirmed.
Judge color and contrast separately. Color is the hue and lightness you want to see. Contrast is whether the logo can be distinguished from the surrounding surface, and it is affected by the base color, gloss, and viewing angle. A design may be clear in a straight-on view but become hard to see near the case edge or on an earbud curve. During artwork review, include the target base color and an approximate viewing direction instead of looking only at a logo on a flat white background. A color code alone is not enough if the allowed lightness difference is undefined.
Material, Base Color, and Curvature Determine Whether a Candidate Works
Look at the Surface, Not Just the Word “Plastic”
“Plastic housing” is not enough information for sampling. Plastics in the same broad family can still print differently, and screen-printing ink cannot be selected by color alone. Check the ink data by substrate category, such as ABS/SAN, PMMA, or PC. If the data sheet calls for an additive, cleaning, or surface treatment, follow that requirement before curing the ink. If there is a coating, also check how it affects ink adhesion and laser-marking contrast. Before sampling, record the exact model, base color, coating status, and the surface where the logo will be placed.
The same applies to laser marking. The result on plastic may be a color change, a change in surface form, or coating removal. Different materials and additives convert the laser energy into different visual results. Two housings that are both described as black may still produce different gray levels, lightness, or tactile feel. Even if one earphone is documented as PC+ABS, do not assume that another model or its charging case uses the same plastic.
Then Check the Curve and the Graphic Area
Screen printing must place the ink consistently on the print surface, while the screen, squeegee, and locating action must cover the target area. Flat surfaces are easiest to control. A regular curve that can be located reliably in a fixture may work, while a rapidly changing irregular curve may require another screen-printing method or a different transfer process. A common earphone problem is not whether the logo file can be drawn, but whether details stretch, edges become thin, or readability changes when the logo is placed on a small curve.
Laser engraving does not automatically solve curved-surface problems. The laser spot, surface angle, coating thickness, and viewing direction still affect the contrast. The center of the lid, the case bottom, and the side may need separate confirmation because their opening, contact frequency, and viewing angles differ. If the two components have no separate size and placement definitions, it becomes difficult to tell whether a result comes from the process or from the available graphic area.
Consider the material, base color, coating, curvature, visible area, and graphic size together. They determine whether the target appearance can be achieved; the process name alone does not. Record the earbuds on one line and the charging case by lid, bottom, or side on separate lines. Mark every unknown as “to be confirmed” instead of writing only “plastic” or “black.”
A surface that looks the same is not necessarily made under the same process conditions. Two parts can both look white while having different glosses, coatings, or base resins. Two glossy surfaces may also differ: one may need to hold ink, while the other may need the laser to pass through or remove a coating. Compare samples side by side under similar lighting and viewing angles. A render can confirm placement and proportion, but it cannot replace the real surface color, reflections, or tactile feel.
If the logo includes fine lines, reversed lettering, or enclosed small text, state which outlines must remain, which decorative details can be removed, and which areas only need to retain the brand symbol. Check those required outlines and details against the same sample criteria. The earbuds and charging case have different visible areas, so the design trade-offs can differ. Keep the core outline, direction, and proportional relationship consistent instead of sacrificing readability on a small curve to achieve pixel-level duplication.
First remove combinations that are clearly unsuitable, then compare the remaining visual differences. With a coated surface, confirm whether the ink will adhere to the coating or whether the coating needs treatment. If a light contrast is expected from laser engraving, confirm that the material or coating can create a clear color or light-dark change. When both points are unknown, add the missing surface information or run a small pre-test. A pre-test uses samples to confirm the material-to-appearance relationship; it is not a full production run.
Why the Earbuds and Charging Case Need Separate Samples
The Same File Actually Meets Two Sets of Surface Conditions
Both the earbuds and charging case can carry a logo, but their material and surface conditions may differ. Record the logo surface, target size and direction, base color and coating, curvature and viewing angle, and whether color, contrast, tactile feel, or resistance matters most for each object. Use the table below to keep the two specifications separate.
| Product position | What to define before adding the logo |
|---|---|
| Earbuds | Exact placement, curvature, viewing angle, target size, target appearance, and whether key outlines must remain |
| Charging case | Lid, bottom, or side; base color and coating; viewing direction; contact and opening conditions; target appearance; acceptable detail differences |
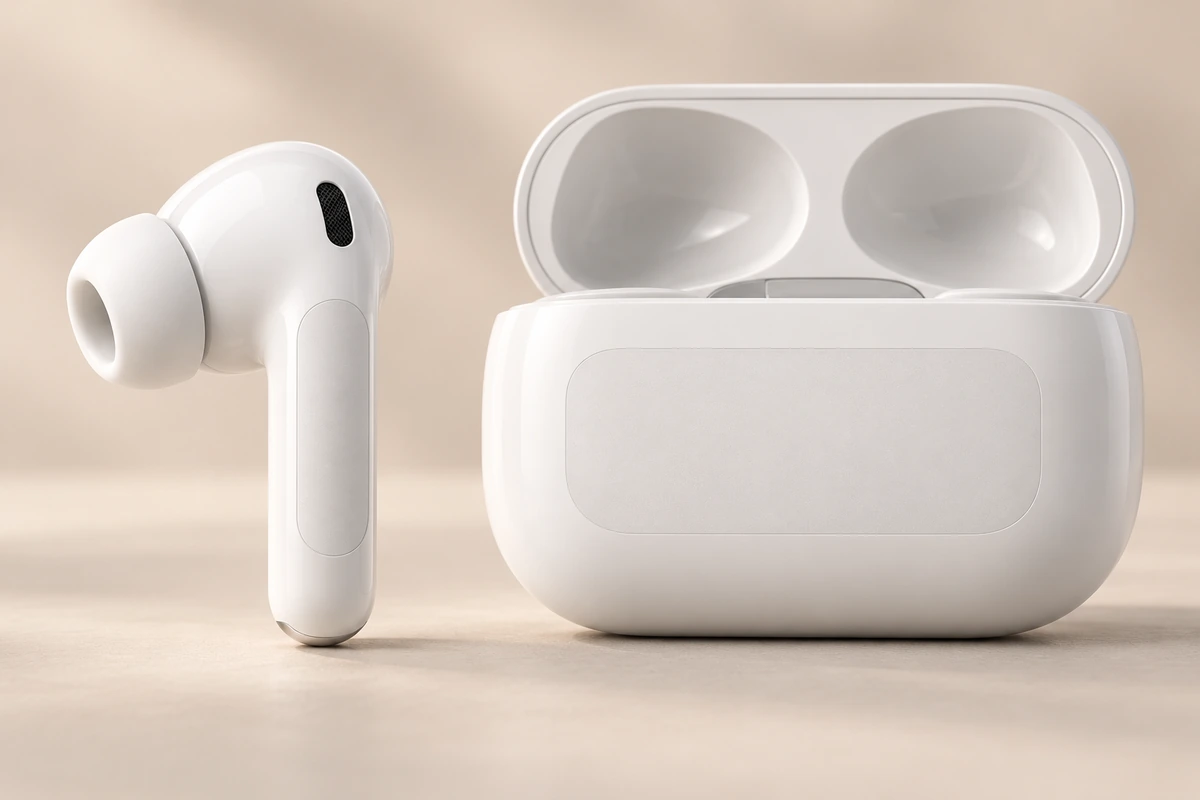
On a small earbud curve, check how much readability remains after the logo is reduced. On a frequently handled case lid, confirm placement while static, then review the appearance and contrast after opening, closing, and finger contact. If the base colors differ, check screen-print color and opacity separately. If one surface has a coating, confirm whether the laser contrast comes from coating removal or from a color or lightness change in the plastic. Copying the file twice does not replace these two checks. The blank areas in the diagram only indicate possible logo positions; compare the two objects as separate samples whenever any condition differs.
The two specifications do not automatically need exactly the same visual result. A smaller earbud area may require a simpler outline, while a larger case area may retain more detail. Unless the project states otherwise, keep the brand-recognition relationship, direction, and core proportion aligned, then record any difference in color lightness, tactile feel, or detail count. Define “core proportion” with observable boundaries in the artwork rather than an abstract requirement. If the brand requires the two locations to look identical, split “identical” into observable checks for color, lightness, edge, placement, and viewing angle instead of treating an aesthetic statement as a process parameter.
Keep the sample photos and written records separate as well. Use one line for the earbuds and another for the charging case; list the lid, bottom, and sides separately when needed. Mark each item “pass,” “revise,” or “material information missing.” The record will then show whether the next change concerns the graphic position, surface treatment, or process candidate.
What to Compare in the Samples
A sample is not finished just because it has been produced. Compare both processes against the same targets: the agreed color or light-dark contrast, the specified logo position, readability at the reduced size, edge quality against the artwork, tactile feel, and the agreed resistance-test result. To make “pass” or “revise” verifiable, use fixed records: photograph the samples side by side under the project light box or uniform lighting and viewing angle; if the project has not defined the lighting or angle, record only relative differences and do not approve a color code from that comparison; record color and contrast with a target color card or wording such as “lighter than target” or “darker than target”; check key outlines, fine lines, and enclosed small text at the final viewing size; record placement, edges, and tactile feel separately as “pass,” “revise,” or “material information missing.” Approve a resistance test only when its method, observation time, and pass standard are written; otherwise, mark it “to be defined” and do not treat an example value as a project-wide standard.
Also separate “looks different” from “is defective.” One difference may come from the base color or gloss, while another may be an adhesion, edge, or locating problem. Describe the visible symptom first, then identify the object and position, surface condition, graphic condition, or process response. If the test isolates one cause, change one variable at a time. If two conditions may interact, make two controlled comparison sets instead of treating a surface difference as an equipment or operator error.
Pre-tests belong before formal production because the combination of substrate, ink, curing, coating, and laser response cannot be inferred from a name alone. Once the samples are clear, carry the confirmed color, placement, and graphic result into the next production step. Do not replace that evidence with claims such as “laser engraving is permanent” or “screen printing always wears off.”
How to Write Custom Logo Requirements for Earbuds
Do not write only “add a logo.” Put these five items next to the artwork:
- Where it is printed: State the exact left or right housing location for the earbuds. For the charging case, stake the lid, bottom, or side, and mark the direction and viewing face.
- Which process to test first: Test screen printing first for a brand color or clear color block. Test laser engraving first for a discreet light-dark contrast or coating-removal effect. If the target or material is unclear, include both processes in the sample comparison.
- What appearance is required: State the target color or color card, light-dark contrast, surface gloss, tactile feel, and the required retention of fine lines and small text.
- How large the graphic is and which details must remain: State the logo size, direction, key outlines, and text. Without defined test conditions, do not invent a seemingly precise minimum letter height or line width.
- What the surface is: State the material or “to be confirmed,” base color, coating, curvature, and viewing angle. Record the earbuds and charging case separately instead of writing only “plastic housing” or “black.”
For example: earbuds — outer center, brand color preferred, test screen printing first; charging case — lid center, black coating, discreet contrast preferred, test laser engraving first. Check fine lines, enclosed small text, placement, and surface contrast at the final viewing size for both locations.
When a sample misses the target, record the visible symptom instead of writing only “poor result.” “The lid center is darker than the target color,” “edge details are hard to read on the earbud housing,” and “contrast is insufficient under reflection on the case bottom” all point to a next action more clearly than “make it look more premium.” If someone says that every plastic is compatible or that laser engraving never changes color, return to the material, coating, and sample conditions instead of treating an absolute claim as a conclusion.
Conclusion: Check the Effect First, Then the Surface
Screen printing is the first process to verify for brand colors and color blocks. Laser engraving is the first process to verify for light-dark contrast created by the material or coating. The final choice still depends on the material, base color, coating, and curvature. Check the target appearance first, then the graphic details. Judge the earbuds and charging case separately, and use physical samples to compare color, placement, readability, and tactile feel.
Popular TWS Earbuds
Wholesale from 100 pcs per model, mix models in one order. Your logo from 1,000 pcs.