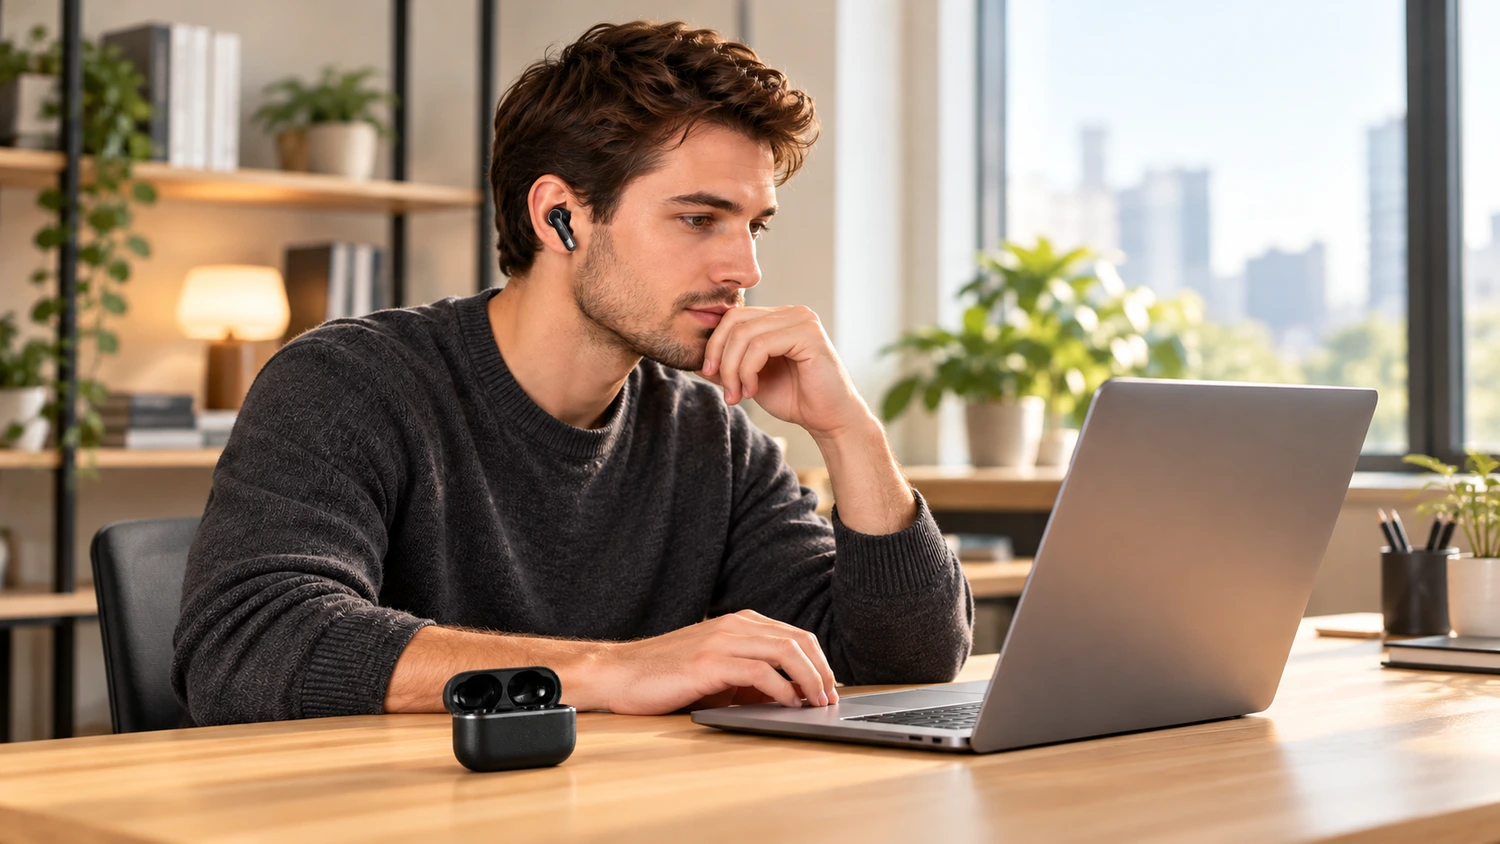
When a new earbud sample arrives, playing a song is a quick first check for sound. To check the sample further, listen to the left and right channels separately, record some speech, and confirm which microphone is being used for recordings and calls. Record each result separately so you know what you have checked and what still needs another look.
Yinshidon’s checks for customized products list Bluetooth pairing, left/right sound, and microphone operation as separate inspection items. You can check these functions individually when samples arrive, rather than covering every result with a single “sounds fine.” This guide covers in-ear, semi-in-ear, and other small earphones with microphones. Follow the connection steps that apply to the sample’s wired interface or Bluetooth connection.
Select the Right Playback and Recording Devices
Follow the instructions to connect the sample. Switch on and pair Bluetooth earphones with the host device. For wired earphones, check that the plug is fully inserted and that the port or adapter supports the functions you need to check. Once connected, open the host device’s sound settings and find the output device for playback and the input device for recording.
When playing music or test sounds, select the earphones as the output device. For recording, select the earphone microphone as the input device. Output sends sound to your ears; input sends your speech to the host device. A computer’s built-in microphone may also appear in the input list, so check which one is actually selected.
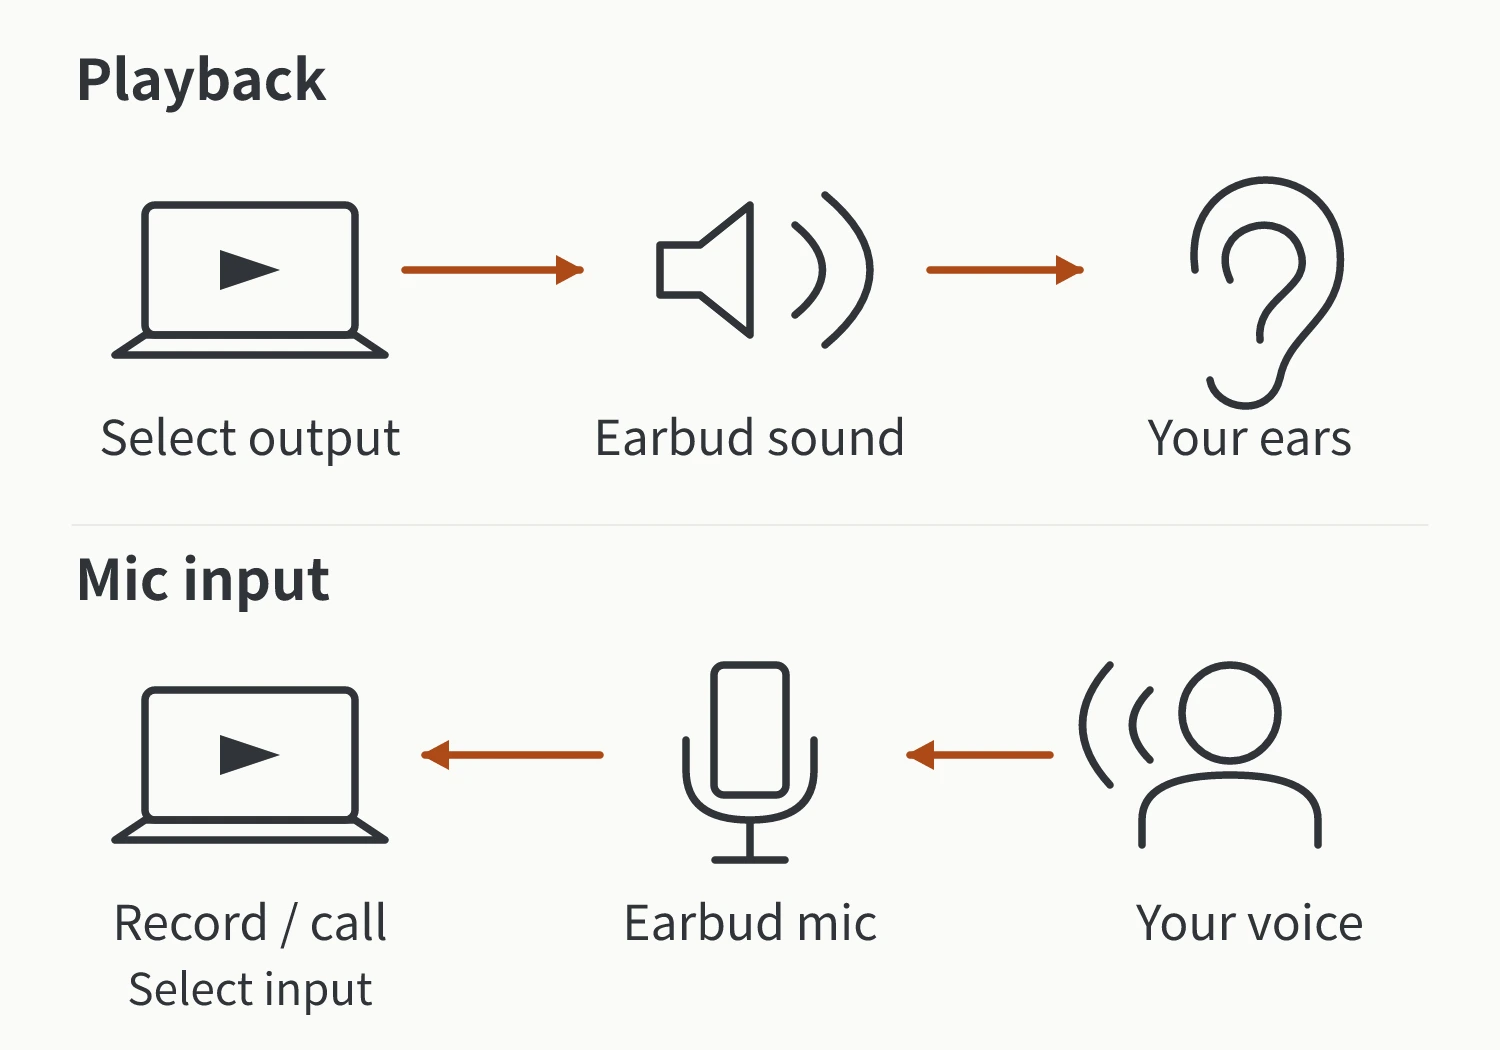
Before making comparisons, note the host device, app, volume, and earphone mode, and keep them consistent where possible. Start playback at a low volume, then adjust it to a comfortable listening level. Fit samples with ear tips as instructed. If you change the tips or refit the earphones, record that change too.
Check the Left and Right Channels Separately
Start with the included left/right channel check audio: it plays through the left channel first, pauses, then plays through the right channel. Turn the volume down before starting, then adjust it as needed. This audio identifies playback direction; it is not a calibrated acoustic measurement signal.
- Wear the earphones as marked. L means left and R means right. Make sure they are not reversed.
- Check the host device’s settings. Turn off Mono Audio and center the left/right balance. On an iPhone, for example, these settings are under Settings > Accessibility > Audio & Visual. Check the relevant menus on other devices.
- Listen to each side separately. You should hear the left-channel section in the left ear and the right-channel section in the right ear. If the sides are reversed, one side is silent, or both sides play together, record exactly what happens. Then recheck how the earphones are worn, the audio source, and the settings.
Mono Audio makes both sides play the same content, so it cannot be used to check whether the two channels remain separate. Moving the balance toward one side also changes the volume you hear on each side.
Once you have confirmed the channel assignment, play familiar speech or music and listen for obvious dropouts, noise, or distortion. If the two sides seem different in volume, record that as something to recheck. This step does not measure the size of the difference or establish that the two sides have matching frequency responses.
Select the Earphone Microphone, Then Record and Play Back
After checking playback, test the microphone separately. In a system setting or app that lets you choose the input device explicitly, select the earphone microphone. Speak at your normal volume, stop the recording, and play it back. Check whether your voice was recorded, whether sentences are complete, and whether there are obvious dropouts or noise.
For example, in Windows sound settings, go to Settings > System > Sound. Under Input, select the microphone you want to test and open its properties. Use the microphone test’s start, stop, and playback controls. Buttons may differ between system versions; the key is to specify the input before speaking and listening back. If the earphone microphone does not appear in the input list, check the connection and whether the host device supports that sample’s microphone input. A recording made with the built-in microphone is not a test result for the sample.
Next, open the calling app you actually plan to use and check its speaker and microphone selections. The app may have a different microphone selected from the one you just tested in system settings, so select the earphone microphone again. If the app supports a test call, use it to listen back. You can also arrange a test call with both participants aware of the check, confirming that you can hear the other person and that they can hear you. Record the system recording result and the actual call result separately.
Also watch for changes between music playback and calls. On a Mac, for example, some Bluetooth earphones switch to a mode that sends and receives audio when the microphone is enabled, reducing playback quality. If this happens, close apps that are using the microphone and play music again to check whether the change occurs when the microphone is active. Do not diagnose a damaged driver from that mode change alone. Call audio still needs to be assessed under actual calling conditions.
Recheck Silence, Dropouts, and Other Problems
When a problem appears, start with the symptom in front of you. Avoid changing all the settings at once.
| What you see or hear | What to check first |
|---|---|
| The device shows a connection, but neither earphone plays sound | Check whether the system and app outputs are set to the earphones, whether playback is muted, and whether the volume is turned up. |
| Only one side plays, or the left/right test gives the wrong result | Check L/R placement, whether the test audio really separates the channels, and whether Mono Audio or balance settings have changed. For wired samples, also check that the plug is fully inserted. |
| Music plays, but speech is not recorded | Check whether the earphone microphone is selected as the input, whether the app is muted, and whether packaging or debris is blocking the sample’s microphone opening. |
After checking the settings and visible condition, reconnect the sample and repeat the playback or recording step that showed the problem. For wired samples, also check the plug, cable, and port connection. For Bluetooth samples, reconnect as instructed, then recheck playback and calls separately.
If the problem remains, make two separate comparisons:
- Keep the host device and change the earphones. On the same host device, keep the audio source and app unchanged. Connect a known-good pair of earphones and repeat the step that caused the problem.
- Keep the original sample and change the host device. Connect the original sample to another compatible device and recheck it with the same app and audio source.
After each change, confirm again that the input and output are set to the earphones currently connected. Recording whether the problem still occurs helps narrow down the sample, host device, or app settings as possible sources. It still does not identify a specific failed component.
Describe results in a way that someone else can reproduce. For example, “In this computer’s calling app, the earphones were selected as the input, but sentences cut out during playback; the problem did not occur on another computer” is more useful than “the microphone is bad.” Record the sample ID, host device, app, selected input and output, and what changed during rechecks so the same conditions can be reproduced later.
Separate Functional Checks from Acoustic Measurements
After these checks, record separately whether the sample plays sound on the current device and settings, whether the channel assignment is correct, whether its microphone records, and how playback and calls behave after connection. These results are more precise than simply saying “the whole unit passes,” and they make it easier to follow up on any problems.
Assessing frequency response, distortion, or consistency between the two sides requires appropriate electroacoustic measurements. Professional measurements feed a test signal to the earphones, capture the response through an artificial ear or coupler, and check fixturing, sealing, and calibration conditions. Listening to music, playing a left/right test, or recording speech cannot replace those data. Nor can those basic checks establish that certification has been passed or that an entire production batch is acceptable.