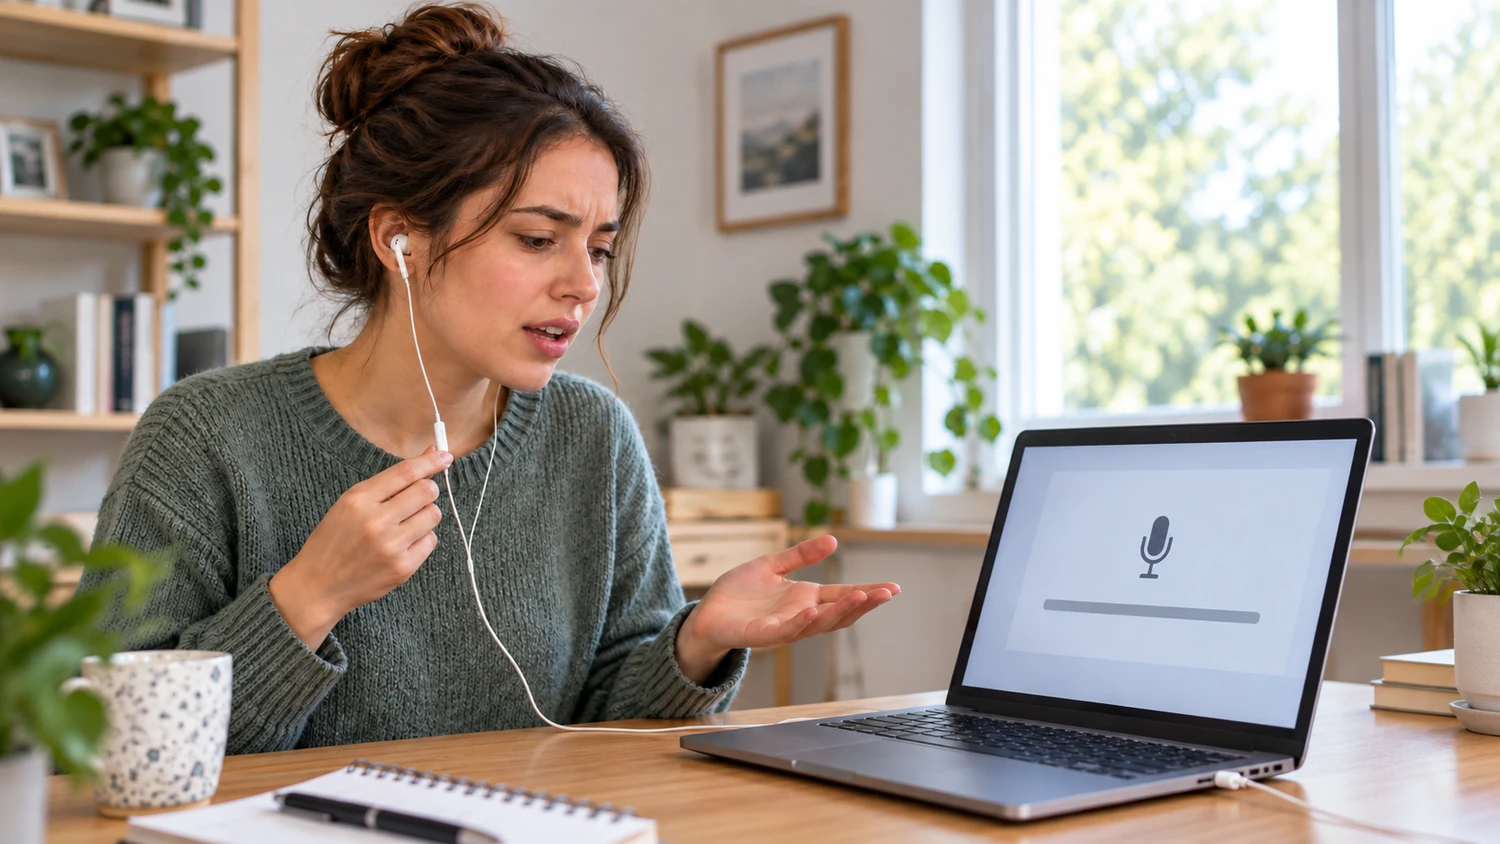
When checking earbud samples with a microphone, or investigating a report that music plays normally but the other person cannot hear the user, confirm one thing first: is the computer receiving sound from the earbud microphone?
The earbuds send sound to your ears, while the microphone sends your speech back to the device. These are two paths running in opposite directions. Normal playback only confirms the first path. A muted microphone, the wrong input selected in an app, or a connection that does not carry the microphone signal can leave the second path silent.
The steps below use Windows 11 as an example. Start with a system recording test, then use the result to decide whether to check the app or the connection. On other operating systems, check the input device and app permissions separately as well. Menu names depend on the device you are using.
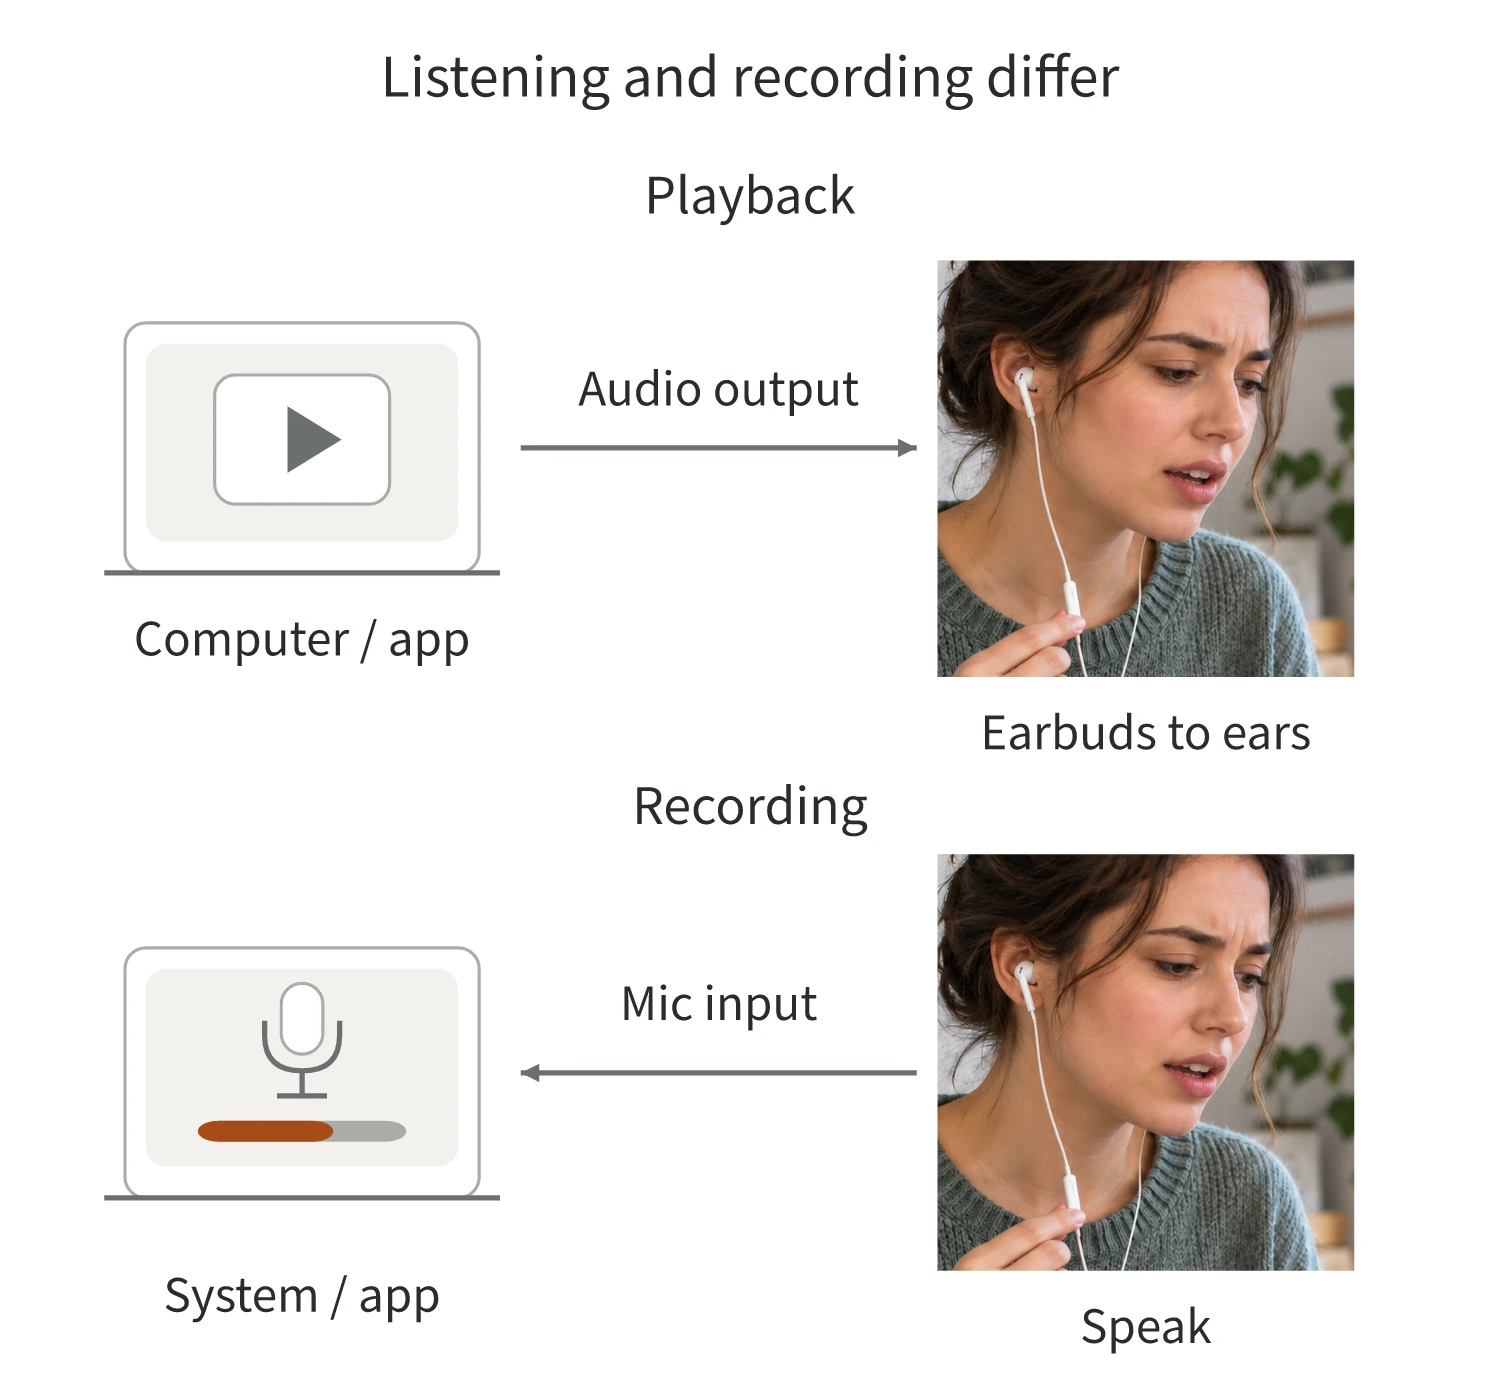
First, Confirm That the System Receives Audio from the Earbud Mic
Check whether the earbuds or inline control have a microphone mute switch. If they do, unmute it. Use the manual to confirm that the switch controls the microphone; do not mistake a playback volume button for a microphone level control.
First, open Settings > Privacy & security > Microphone and make sure Microphone access is on. Then open Settings > System > Sound > Input:
- Under Choose a device for speaking or recording, select the input associated with the earbuds. The computer’s built-in microphone, a webcam microphone, and the earbud microphone may all be available. Identify the input source first: a clear recording from the built-in microphone does not prove that the earbud mic works. For analog wired earphones, the input may appear under the sound card’s name. Check the computer manual or audio management software to identify the corresponding external microphone input.
- Open that input device’s properties and check whether the input volume is zero or too low. If so, raise it a little, then make a test recording as described in the next step.
- Select Start test and speak normally into the earbud microphone. Stop the test and play the recorded sample to check whether you can hear what you just said. If playback is silent, first confirm that the current output can still play other sounds. This helps avoid mistaking a playback problem for a recording failure.
If you use another recording app to double-check, confirm the actual input in that app too. Similarly, a phone app recording sound does not, by itself, prove that it is using a Bluetooth earbud microphone.
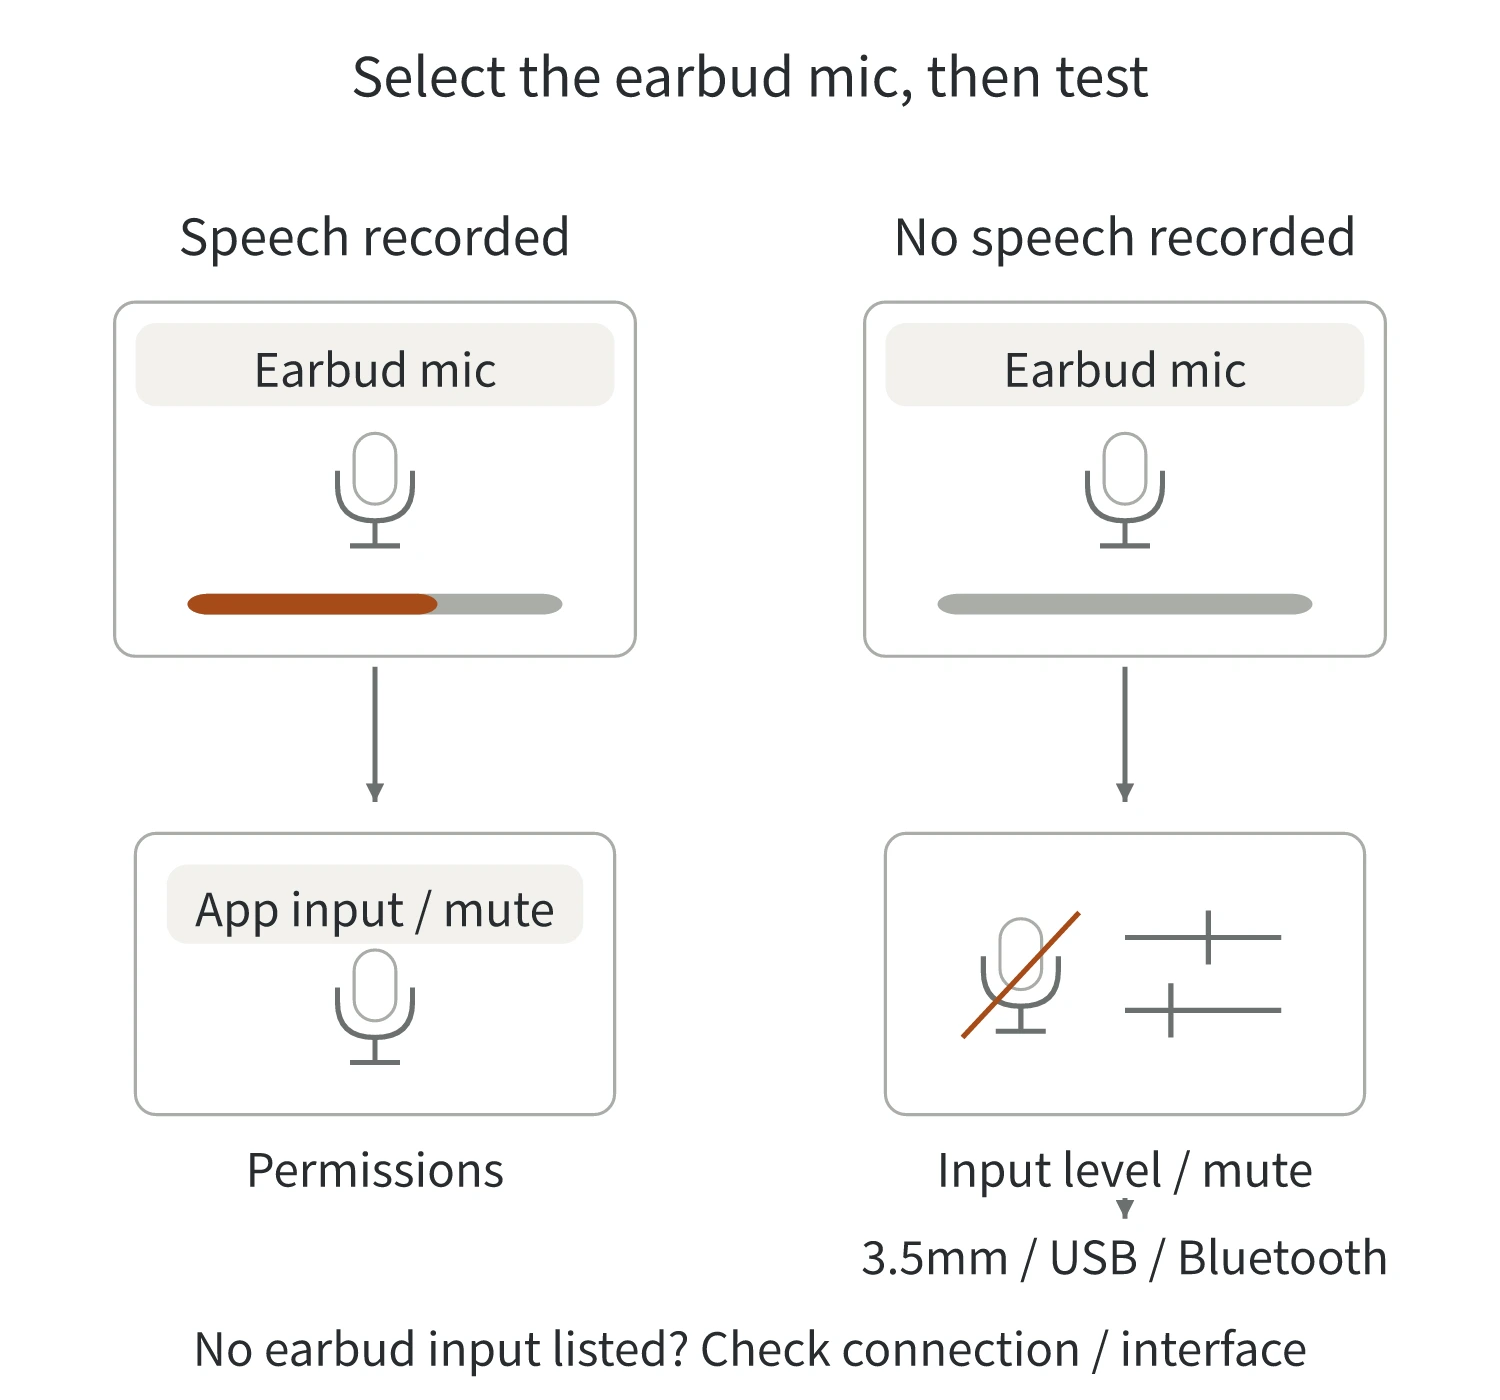
The next step follows from the result: if the system records speech from the earbud mic, check the target app first. If the system cannot record it either, continue with the input settings and the relevant connection. If no usable earbud microphone appears in the input list at all, start with the connection and device detection.
If the System Records Sound, Check the Calling App
A successful system test shows that the earbud microphone can send sound to the system under the current connection conditions. If a calling app still receives no sound, check these three things in order:
- Which microphone the app has selected. Open the audio settings in the meeting, chat, or gaming app and choose the same input you just tested. The app may retain an old device selection rather than follow the system’s default input.
- Whether the app has muted the microphone. Unmute the microphone in the call interface, then check again using the app’s microphone test or a test call.
- Whether the app has microphone permission. In Windows 11, open Settings > Privacy & security > Microphone. Check Let apps access your microphone and the permission for the target app. For traditional desktop apps, also check Let desktop apps access your microphone. These apps may not appear individually in the app list.
For browser-based calls, also check whether the browser allows that website to use the microphone and which input the browser has selected. System permission, website permission, and microphone selection are separate settings. Turning on one does not mean that all three are correct.
After making changes, return to the original app and test again. If system recordings consistently work and only one app has no sound, focus further checks on that app’s audio settings and instructions. There is no need to replace the earbuds immediately.
Wired Earphones: Check Mic Support in the Jack and Adapter
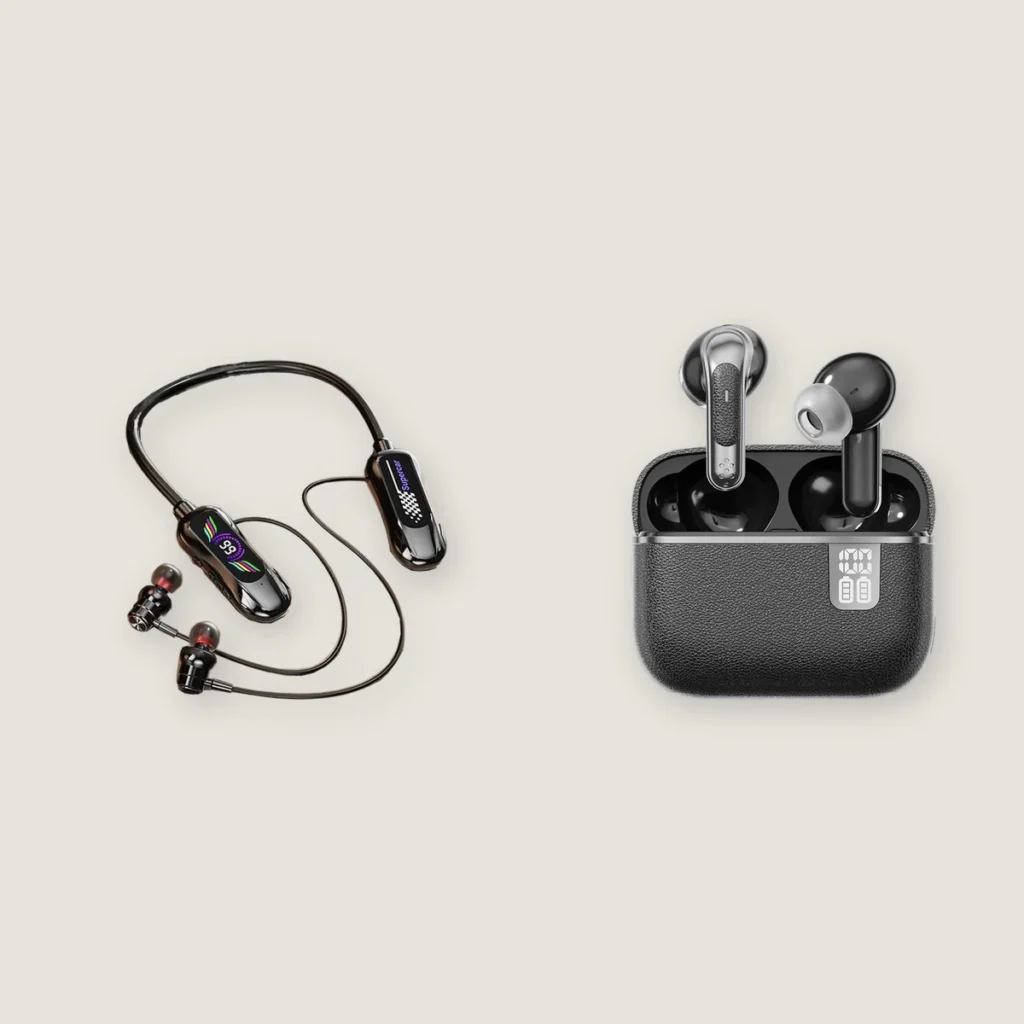
The G01 wired earphones listed on Yinshidon’s website are available in separate 3.5 mm and Type-C versions. When checking this type of earphone, identify the version in hand first, then check its connection to the host device.
3.5 mm: Check the Jack’s Function, Then the Pinout
A round socket on the host device may be a headphone output, a microphone input, or a combo jack that supports both. Plugs that physically fit may still support different functions. Check the markings beside the jack and the device manual rather than relying on color alone.
If the host has separate headphone and microphone jacks but the earphones have one plug carrying both signals, you need a headset splitter adapter compatible with both sides. It routes playback and microphone signals to the corresponding ports. Before buying one, confirm that it explicitly supports microphone input. Its appearance or a generic “one-to-two” description is not enough.
Stereo earphones with a microphone commonly use a four-contact plug, also called a TRRS plug. Count the four metal contact surfaces separated by insulating rings, starting with the tip as contact 1. The insulating rings themselves are not contacts. The pinout must also match. Two common arrangements, from the plug tip toward the cable, are:
| Pinout | Contact 1: tip | Contact 2 | Contact 3 | Contact 4: cable end |
|---|---|---|---|---|
| CTIA | Left channel | Right channel | Ground | Microphone |
| OMTP | Left channel | Right channel | Microphone | Ground |
The left and right audio channels occupy the same positions in these two arrangements, but the microphone and ground positions are reversed. A mismatch can therefore allow playback while preventing the microphone from working normally. For older devices or adapter cables, check the specific pinout and adapter instructions. Repeatedly increasing the recording volume cannot correct a pinout mismatch.
USB and Type-C: Confirm Recording Input Support
After connecting USB earphones or a USB audio adapter, check whether the system offers the corresponding recording input. The appearance of a playback device alone does not mean that the microphone is available.
A digital USB-C to 3.5 mm headset adapter, for example, must convert digital audio into an analog signal for playback through the earphones. For recording, it must also convert the microphone’s analog signal into a digital input. Android’s relevant adapter specification covers both directions, including microphone input conversion and detection.
So, “has a digital-to-analog converter” or “plays music” is still not enough to confirm microphone support. Check whether the adapter explicitly supports recording, earphones with a microphone, and the intended host device. The shape of a Type-C plug alone does not identify the audio implementation inside.
You can try another compatible USB port on the host. If an adapter is involved, first confirm the specifications of the entire connection chain, then compare it with other connection methods known to support microphone input. After each change, select the input device again and make a test recording.
Bluetooth Earbuds: Check the Input, Not Just the Connection
Even if the Bluetooth list says “Connected” or the earbuds play music, return to the system’s input list. Confirm that you can select the earbud microphone and record speech.
In Bluetooth Classic audio, A2DP (Advanced Audio Distribution Profile) handles media playback and does not provide microphone input. Using the earbud mic requires HFP (Hands-Free Profile). This is another reason why a working playback connection cannot replace a recording check.
However, do not expect every computer to show the same device names:
- Windows 10: Bluetooth Classic earbuds may appear as separate Stereo and Hands-Free devices. The microphone uses the hands-free input.
- Windows 11: The relevant Bluetooth Classic audio endpoints are unified. A device that supports calls can have a single output and a single input, with the system switching as needed. A separate “Hands-Free” name may not appear.
If you use LE Audio (Bluetooth Low Energy Audio), confirm that the computer, earbuds, and drivers all support it. A “Bluetooth 5.x” label alone is not enough. Do not apply Bluetooth Classic profile rules directly to LE Audio.
If you cannot find the earbud input, follow the device instructions to unpair and pair the earbuds again, then check the input list. If the input is still unavailable, follow the computer manufacturer’s guidance to check the Bluetooth and audio drivers.
Still No Sound? Compare Test Recordings to Narrow It Down
Keep the current system recording test result, then change one condition at a time:
- Keep the same earbuds and try another host or connection method known to be compatible. If recording starts working, focus first on the original host’s input settings, port, or adapter chain. If you change the adapter as well as the host, you cannot attribute the result to the host alone.
- Keep the same host and connection method, and try another compatible pair of earbuds with a microphone known to work. If the replacement records successfully, the original earbuds, their cable, or their connection become more likely sources of the problem. That still does not identify a specific failed component.
Record the earbud model and connector version, host device, adapter, actual input name, and the step at which sound stops being recorded. These details help technical support reproduce the issue under the same conditions.
If speech still cannot be recorded after you have checked the input source, mute state, permissions, and connection compatibility, give those results to the earphone or host device support team for further checks. There is no need to guess at the fault by repeatedly raising the volume, rewiring cables without a verified wiring diagram, or opening the housing.